“Visual Studio Code的安装与配置”的版本间的差异
(→配置Visual Studio Code的代码格式化) |
(→配置Visual Studio Code的代码格式化) |
||
| 第27行: | 第27行: | ||
<pre> | <pre> | ||
{ | { | ||
| − | + | "editor.tabSize": 2, // 编辑器缩进设置 | |
| − | + | "editor.formatOnSave": true, // 保存时自动格式化 | |
| − | + | "editor.formatOnPaste": true, // 粘贴时自动格式化 | |
| − | + | "javascript.preferences.quoteStyle": "single", // js格式化为单引号 | |
| − | + | "typescript.preferences.quoteStyle": "single", // ts格式化为单引号 | |
| − | + | // ↓↓beutify插件设置 | |
| − | + | "beautify.config": { | |
| − | + | "indent_size": 2, // js自动格式化缩进设置 | |
| − | + | "end_with_newline": true, // 文件结束时增加空行 | |
| − | + | "brace_style": "collapse,preserve-inline", // 大括号格式化设置 | |
| − | + | "wrap_line_length": 200 | |
| − | }, | + | }, |
| − | + | "vetur.format.defaultFormatter.html": "js-beautify-html", // vetur插件格式化html设置 | |
| − | + | "vetur.format.defaultFormatter.js": "vscode-typescript", // vetur插件格式化js设置 | |
| − | + | "vetur.format.defaultFormatter.ts": "vscode-typescript", //vetur格式化typescript设置 | |
| − | + | // ↓↓vetur默认格式化设置 | |
| − | + | "vetur.format.defaultFormatterOptions": { | |
| − | + | "js-beautify-html": { | |
| − | + | "wrap_attributes": "auto" // 使html代码的属性保持在行内,除非达到最大行宽,否则不折行 | |
| − | |||
} | } | ||
| + | }, | ||
| + | "eslint.validate": [ | ||
| + | "javascript", | ||
| + | "javascriptreact", | ||
| + | "html", | ||
| + | "vue" | ||
| + | ], | ||
| + | "explorer.confirmDelete": false, | ||
| + | "node-workspace-builder.buildModulesWithoutInstall": true, | ||
| + | "workbench.colorTheme": "Chinolor", | ||
| + | "[javascript]": { | ||
| + | "editor.defaultFormatter": "HookyQR.beautify" | ||
| + | }, | ||
| + | "[vue]": { | ||
| + | "editor.defaultFormatter": "octref.vetur" | ||
| + | }, | ||
| + | "eslint.autoFixOnSave": true, | ||
| + | "html.format.wrapLineLength": 200, | ||
| + | "window.zoomLevel": 1 | ||
} | } | ||
| + | |||
</pre> | </pre> | ||
2019年7月11日 (四) 15:06的版本
所需软件
安装Visual Studio Code及扩展
1.需安装的插件
   Auto Close Tag
   Auto Rename Tag
   Beautify
   ESLint
   JavaScript (ES6) code snippets
   Vetur
   Vetur-wepy
   node Workspace Builder(配置如下)

2.需卸载的插件
   TSLink Vue
   svn
单击左侧的方形扩展图标,打开扩展商店;
在搜索栏中输入:TSLint Vue,安装后点击重新加载按钮;
配置Visual Studio Code的代码格式化
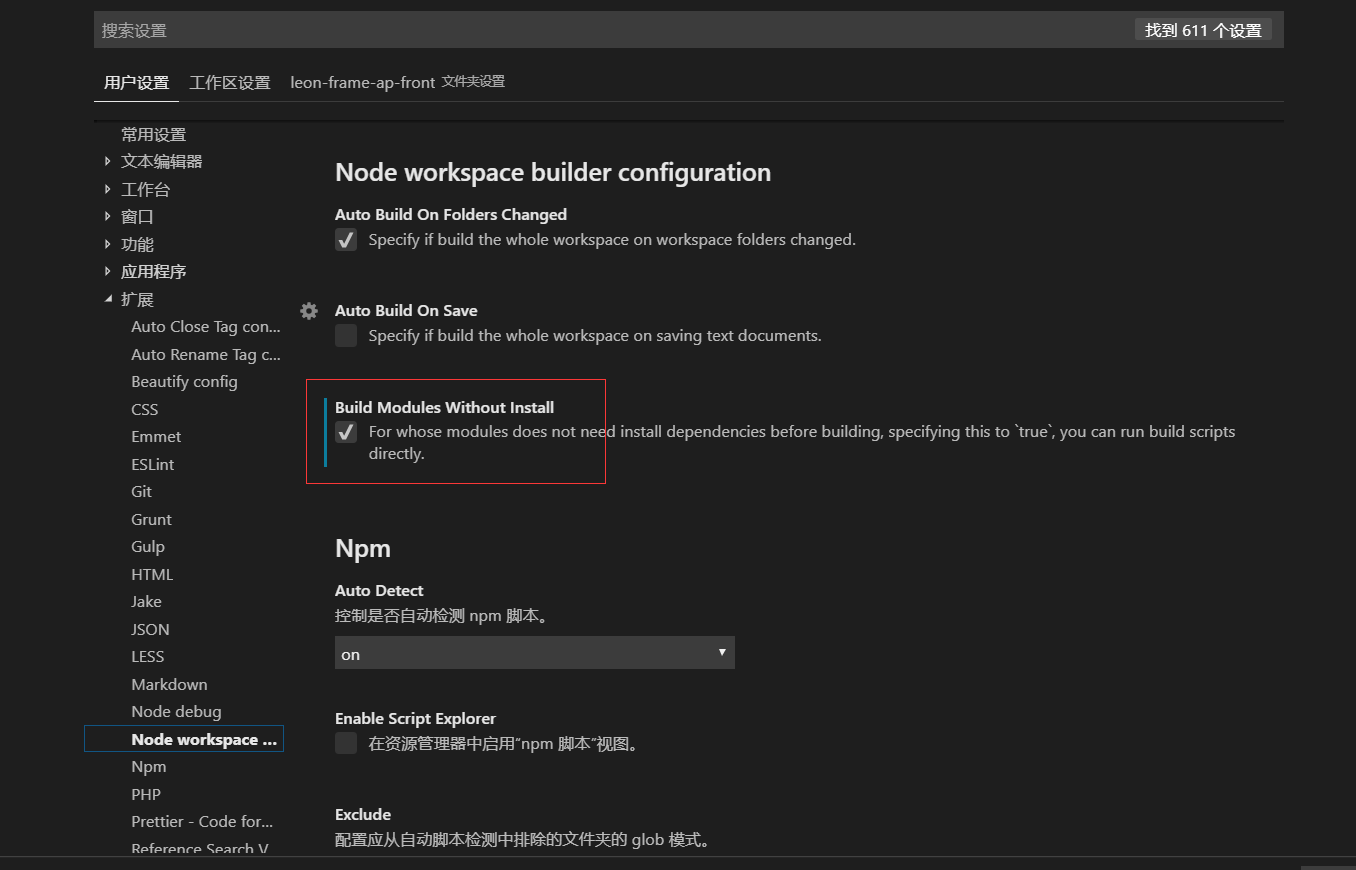
1 点击菜单 文件 --> 首选项 --> 设置 --> 编辑器中的大括号; 复制如下内容并替换setting.json 中的设置:
{
  "editor.tabSize": 2, // 编辑器缩进设置
  "editor.formatOnSave": true, // 保存时自动格式化
  "editor.formatOnPaste": true, // 粘贴时自动格式化
  "javascript.preferences.quoteStyle": "single", // js格式化为单引号
  "typescript.preferences.quoteStyle": "single", // ts格式化为单引号
  // ↓↓beutify插件设置
  "beautify.config": {
    "indent_size": 2, // js自动格式化缩进设置
    "end_with_newline": true, // 文件结束时增加空行
    "brace_style": "collapse,preserve-inline", // 大括号格式化设置
    "wrap_line_length": 200
  },
  "vetur.format.defaultFormatter.html": "js-beautify-html", // vetur插件格式化html设置
  "vetur.format.defaultFormatter.js": "vscode-typescript", // vetur插件格式化js设置
  "vetur.format.defaultFormatter.ts": "vscode-typescript", //vetur格式化typescript设置
  // ↓↓vetur默认格式化设置
  "vetur.format.defaultFormatterOptions": {
    "js-beautify-html": {
      "wrap_attributes": "auto" // 使html代码的属性保持在行内,除非达到最大行宽,否则不折行
    }
  },
  "eslint.validate": [
    "javascript",
    "javascriptreact",
    "html",
    "vue"
  ],
  "explorer.confirmDelete": false,
  "node-workspace-builder.buildModulesWithoutInstall": true,
  "workbench.colorTheme": "Chinolor",
  "[javascript]": {
    "editor.defaultFormatter": "HookyQR.beautify"
  },
  "[vue]": {
    "editor.defaultFormatter": "octref.vetur"
  },
  "eslint.autoFixOnSave": true,
  "html.format.wrapLineLength": 200,
  "window.zoomLevel": 1
}
3 关闭用户设置标签页;
打开工作区
找到前端项目根目录下的.code-workspace文件(以项目sino-demo-distributed-view为例,工作区配置文件为:sino-demo-distributed-view.code-workspace),双击打开;
选择打开方式为Visual Studio Code并设为默认打开方式。
VS Code会默认保存最近一次打开的工作区。